This complete guide for growing & solar drying fresh herbs will provide you simple instructions from start to finish, as well as fun ways to use your end product.
Choosing Which Herbs To Grow
Choosing which herbs to grow really depends on what you intend to use them for. There are countless ways to use herbs, but some more popular ways are:
- Culinary
- Medicinal
- Aromatics
- Animal feed additive
- Display/Decoration
Our family uses herbs for all of the above, plus some. So, we grow a lot on our homestead! One of my favorite ways to use herbs is to add them in our chicken feed to keep our flock healthy and laying beautiful, nutritious eggs. You can learn more about the best herbs to feed your flock here.
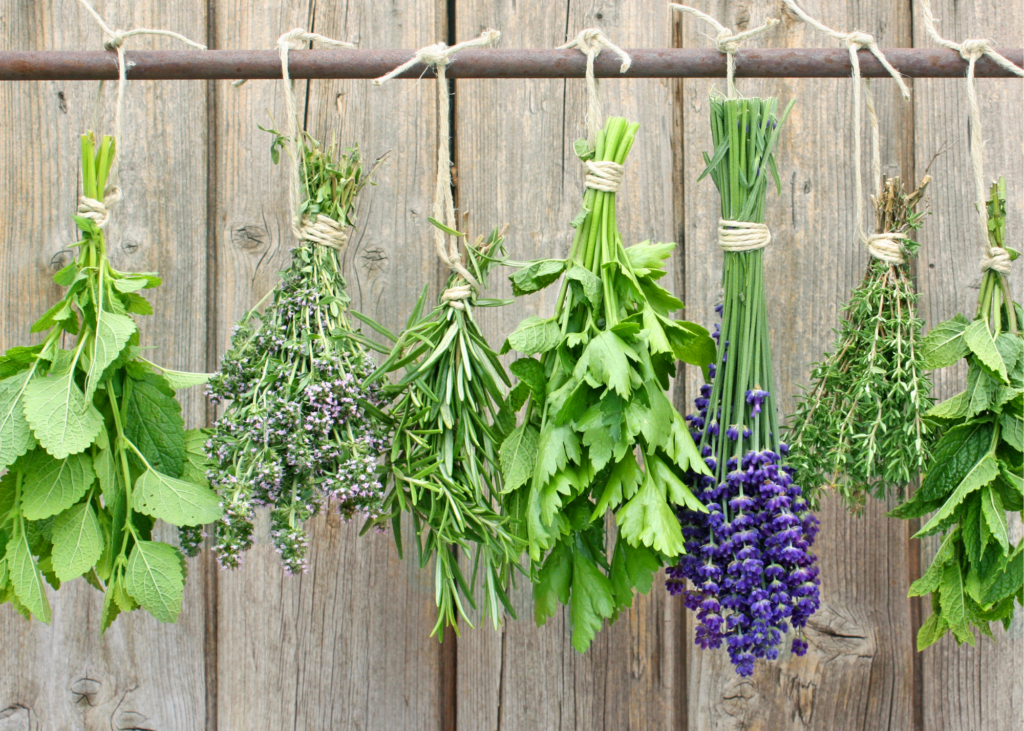
Once you have chosen what you plan on using your herbs for, the decision as to which herbs to grow should come easily. Some of the basics include oregano, basil, peppermint, rosemary, dill, parsley, and sage. There are obviously many more than this, but this is a good variety to choose from no matter what you are using them for.
Basic Herbs And Common Uses
Some of the basic herbs that I listed previously can be used in a variety of ways. Here is a list with notes on common uses for those basic herbs (by no means is this an exhaustive list):
- Oregano – this deep, bold, and strong herb is more potent in it’s fresh form than dried. It has been used to treat respiratory issues, such as cough and stuffy nose, acting as an expectorant. It most importantly has very potent anti-microbial properties.
- Basil – we all know basil to be used in culinary dishes as either a last minute addition or a garnish. It’s flavor can even be peppery. Basil has strong antioxidant and anti-microbial activity. It’s even used to stimulate the appetite and ease stomach upset.
- Peppermint – this most favored herb in the mint family is delicious with a summer treat, such as ice cream. Peppermint is most commonly ingested as a tea, and is traditionally used to treat colic and digestive upset. The essential oil is also used to treat colds and stuffy noses, due to it’s ability to open the sinuses up. In combination with honey, it can also ease a sore throat.
- Rosemary – rosemary has a pine-like scent, and is delicious on roasted potatoes. It has many medicinal properties that include wound healing and eczema treatment. It is also used to treat digestive upset, blood pressure issues, and rheumatism.
- Dill – this herb can grow quite tall and flowery. It’s licorice-like flavor is recognizable. Similar to parsley, it can aid in GI distress. In folk medicine, it has been used to treat sleep disorders.
- Parsley – a mild and clean flavored herb that is used in many springtime dishes. Medicinal uses include treatment for urinary tract infections, but was originally used to treat GI distress.
- Sage – everyone associates sage with Thanksgiving dinner. It is also used as an anti inflammatory (especially in the mouth). Mother’s also use sage to help with over-production of breast milk, or to help dry up their supply.
Growing Fresh Herbs
Overall, growing fresh herbs is quite easy! They are most commonly grown in containers, and typically near or in the kitchen. You can choose to start from seed or by purchasing seedlings. If you choose to start from seed, here is some basic information on getting started with growing seeds indoors. Seedlings offer a head start on growing, but are more expensive and you typically find less variety.
Growing Fresh Herbs In Containers
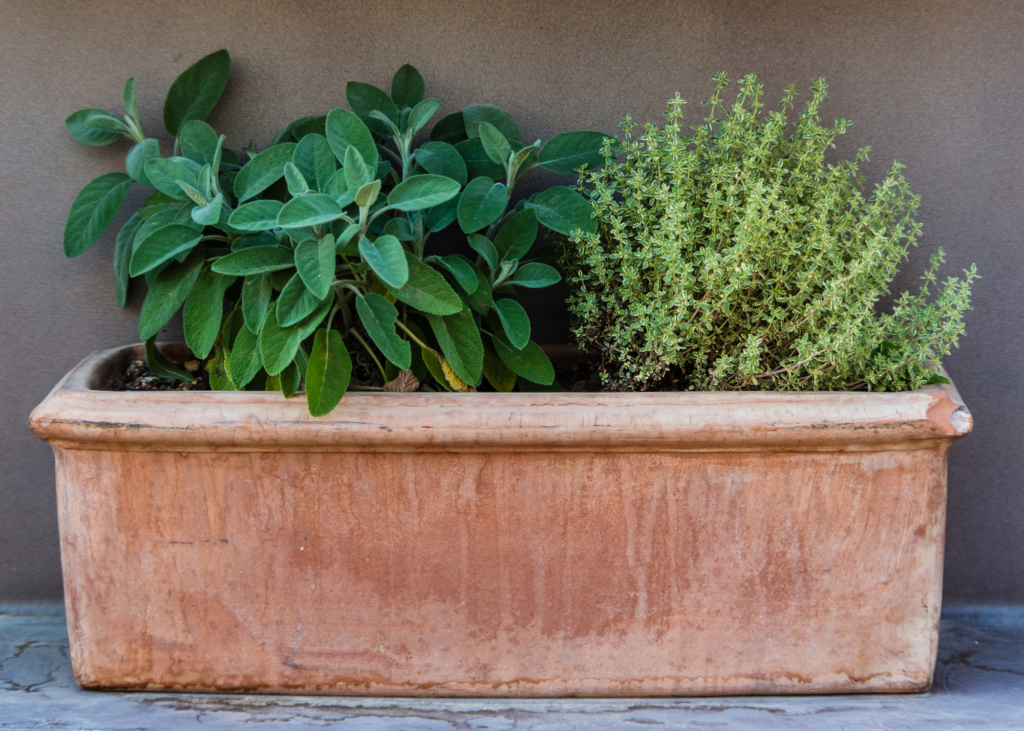
When choosing what size container to plant your herbs in, you need to understand the growing pattern of the herb itself. Some herbs, like basil, rosemary, dill, parsley, and sage grow in an upright fashion and don’t take up much space in a container. These herbs will grow larger in the right conditions, but will not send out roots to spread throughout a container.
Other herbs, such as oregano and peppermint, will spread quickly by sending out roots under the soil. You will then start seeing new growth sprouting farther away from the original plant. Knowing this growth pattern will help you keep your herbs in appropriate containers without having to repot them over again.
Most herbs prefer full sun, but some, like cilantro, like a little bit of shade in the heat of the day. You can choose to place your container on a sunny patio or deck, or really anywhere there is an appropriate amount of sun. Just know that if you plan on using your herbs to cook with, you will want them near the kitchen. It’s not very fun running out to the very back of your yard to grab a few leaves of basil to garnish a dish with. You run the risk of burning food on the stovetop or just not bothering to use the herbs at all. Another option would be to keep small pots of herbs on a sunny kitchen windowsill. The ease of availability when you want to use them is wonderful, and they make such pretty decor.
When planting your herbs in containers, be sure to use a quality potting soil that contains organic matter to naturally feed your plants. This is a good option that’s available in many areas. But, I also recommend shopping at your locally-owned garden center. Water your containers frequently, but allow the soil to dry slightly in between waterings. You don’t want to drown them!
Growing Fresh Herbs In A Garden Bed
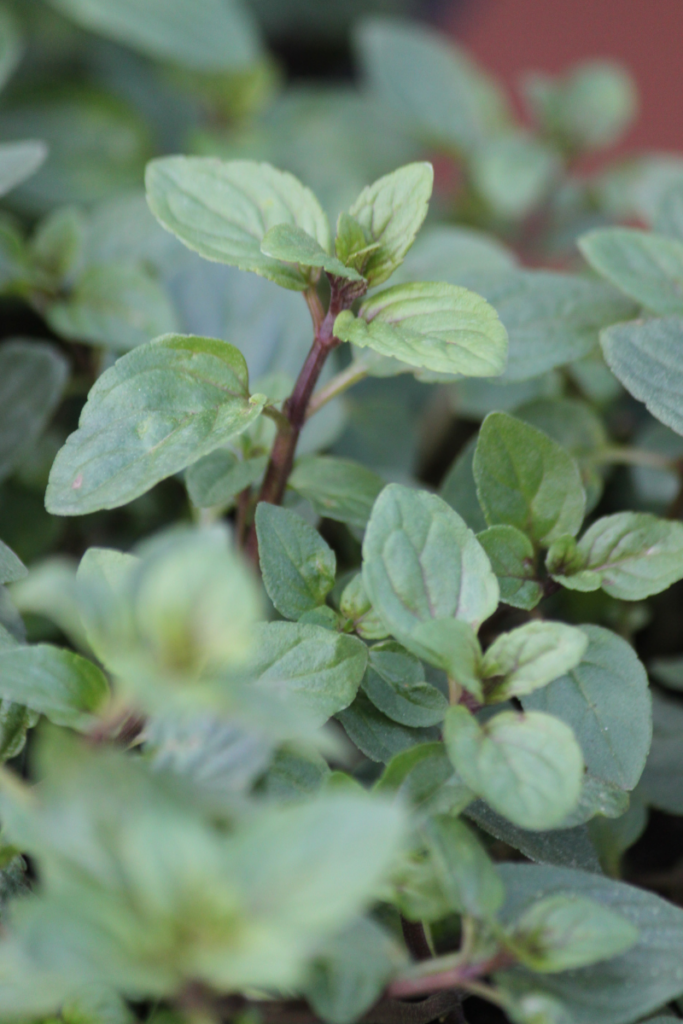
We grow most of our herbs in garden beds, and this is mainly because we grow so many for personal use and to add into our animal feed on the homestead. We do keep a few containers on the porch for cooking, but the majority is in garden beds.
Planting in garden beds allows you to plant more herbs and allows them to spread and sometimes overwinter. We live in USDA Zone 7b, and we have had parsley, sage, oregano, lavender, and thyme overwinter quite well. As with container gardening, you need to be sure to have appropriate amounts of sunlight, a rich, quality soil, and frequent watering.
Harvesting Fresh Herbs
Whether you are harvesting a few leaves for garnish or half of the plant for drying, you need to do so with care. Trimming and pinching off in the right places allows for more growth after you have harvested.
When trimming leaves on plants such as basil or sage, it’s best to pinch the leaf off at the base where it connects to the stem. You can pinch leaves off in a way that allows the plant to get proper airflow through the middle of it. You don’t want to pinch all of the leaves off of one stem, and leave all of the rest to grow in thicker. You’ll have a lopsided plant!
Harvesting a whole stem or stalk, such as with rosemary or lavender, can be done by cutting the stem near the base of the plant. You can also trim the stem directly above a leaf (or growth ring) to allow for future growth.
Solar Drying Fresh Herbs
If you are like us, and prefer to dry your herbs for storage and future use, there are a few different methods to do so. I will be going over the solar drying method in this post.
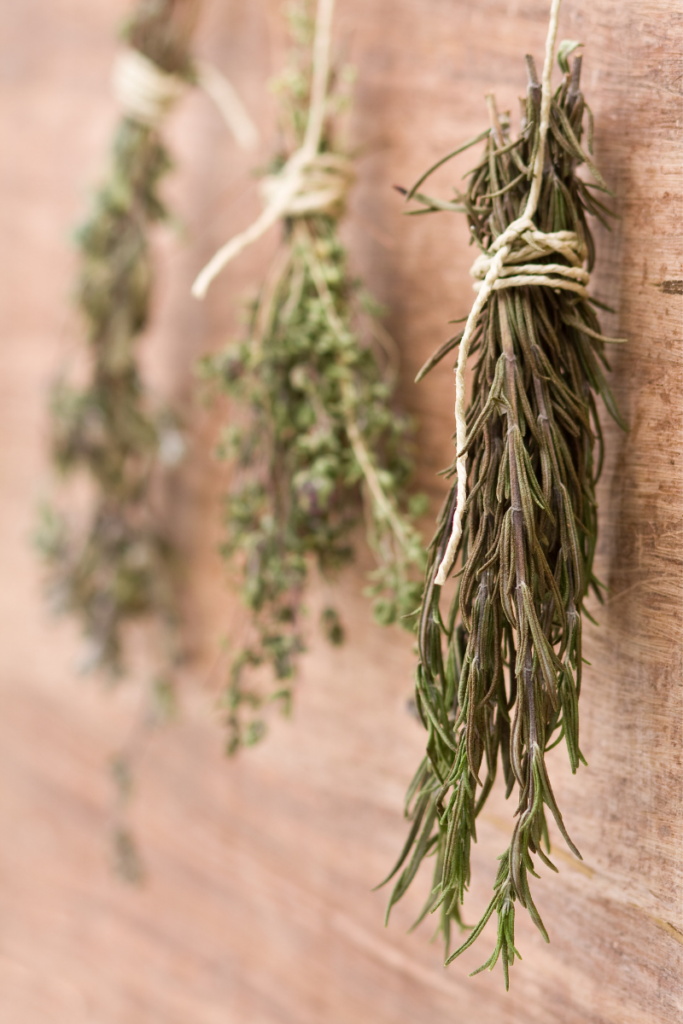
There are 2 basic ways to solar dry your herbs. If you are drying stalks or stems, you need to hang them in bunches. If you are drying just the leaves, you need to lay them flat. Air circulation and humidity must be ideal for your herbs to dry properly.
There needs to be some light air flow and lower humidity for the herbs to dry quickly. If they do not dry fast enough, they could mildew and spoil. If the air flow is too strong, they’ll simply blow away. And, if there’s not enough air flow, they may not dry in time and again risk spoiling. And lastly, as the humidity increases, so does the drying time.
Equipment Needed For Solar Drying Herbs
When you hang your stalk and stem-type herbs, you’ll first tie them up in small bunches with some twine and allow them to hang, preferably without touching anything else. And when laying your individual leaves to dry, you need to place them on a surface that will allow proper air circulation. This is where having an herb drying rack comes in handy. At the very least, having a few screened trays or surfaces to dry your leaves is needed.
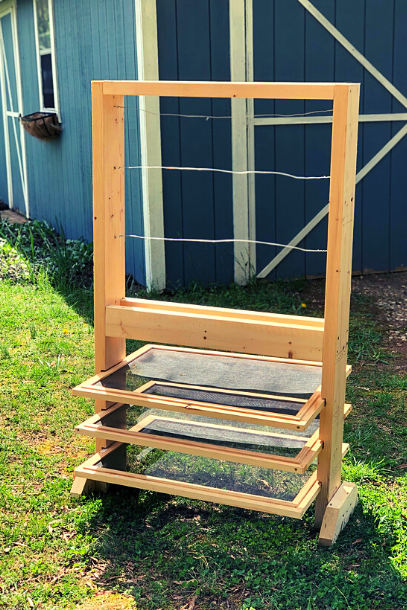
Above, you will see the drying rack that my Husband built. It includes both screens for drying leaves and wire to hang stem bunches. We dry a lot of herbs, so this works well for us. It is bulky, and may not be useful for someone who only wants to dry a few at a time. However, there are other options that are smaller. This is a cute DIY drying rack to hang your stem bundles while doubling as a piece of home decor. Here’s another DIY drying rack for your individual leaves. Both of these options can be low cost if you reuse items from around the house. You can also put your creative hat on and see what you can make on your own!
How Long Does It Take To Solar Dry Fresh Herbs?
The length of time required to dry fresh herbs depends on the herb and the environmental conditions.
A plant, such as sage, has thicker leaves that require more time for drying. Basil is a plant that tends to hold more moisture, and oregano dries very quickly when hung in bunches. You’ll have to experiment and see for yourself. However, given ideal environmental conditions, most herbs do not take more than a week to dry by the solar method. Most varieties take between 2-4 days if there is proper air circulation and low humidity.
How Long Will Dried Herbs Keep?
If properly stored in an airtight container at room temperature, most dried herbs will last 6-12 months. That really makes the process of drying herbs worthwhile!
Recipes That Use Fresh & Dried Herbs
I love cooking with fresh herbs! Here are a few of my favorite recipes that we make frequently, that use fresh herbs:
- Easy and Delicious Grain-Free Meatballs
- Garlic Butter Tomato Baked Chicken
- Instant Pot Hamburger Soup
- Crockpot Chicken Enchilada Soup
Pin It For Later
I hope this all gives you the confidence to try growing and drying fresh herbs. It’s extremely rewarding, not very messy at all, and entirely soothing to the senses (I mean, who doesn’t love the scent of fresh lavender?!).
Drop a comment below with your favorite herb, a good recipe to use herbs in, or just to say hi. Thanks for visiting my friends. Stay safe and stay well. See y’all soon!
Leave a Reply