Learn how to build cheap raised garden beds in 2021 with simple step by step instructions. And at sky high lumber prices too!
Why Build Raised Garden Beds?
Raised garden beds can offer a lot of benefits to both beginner and experienced gardeners. Firstly, they allow you to control the soil environment more than direct in-ground gardening.
Since the foundation of healthy plant life is in the soil, using raised beds is a beneficial option for great growing results.
Raised beds also help control weeds, as well as allow you to control moisture levels. Don’t get me wrong. We are not trying to take over Mother Nature’s job. When I say “control,” I really mean “greater success.” Sometimes, Mother Nature has her own way, and there’s not much we can do about it.
Overall, a raised bed is easier to maintain soil conditions, moisture levels, and weed control. These 3 items allow a gardener to have a higher success rate when growing flowers, vegetables, and fruits.
What To Plant In A Raised Bed?
You can plant almost anything in a raised bed, but that is strictly based on the size of the bed.
Wider plants, such as zucchini, some varieties of tomatoes, and large leafy greens like chard, can fill out a raised bed pretty quickly, not leaving much room for anything else.
Vines like pumpkins, melons, cucumbers, and peas can be difficult to maintain in a raised bed. You will have to consider a trellis for vertical growing of these types of plants.
Plants such as your root vegetables, will need a deeper raised bed with a fair amount of lofty soil, as they require a lot of space to grow upward.
However, all of these scenarios can be successful with a few minor alterations.
Don’t forget about your flowers and herbs too! Flowers can be beautiful when grown densely in a raised bed. I love the idea of a flower garden specific for cutting to make arrangements.
Also, herbs can be grown to use fresh in the kitchen to cook with. You can also dry them to use for many different reasons. To learn how to dry herbs and the many uses they have, head over to this article I wrote.
What To Consider Before Building A Raised Garden Bed?
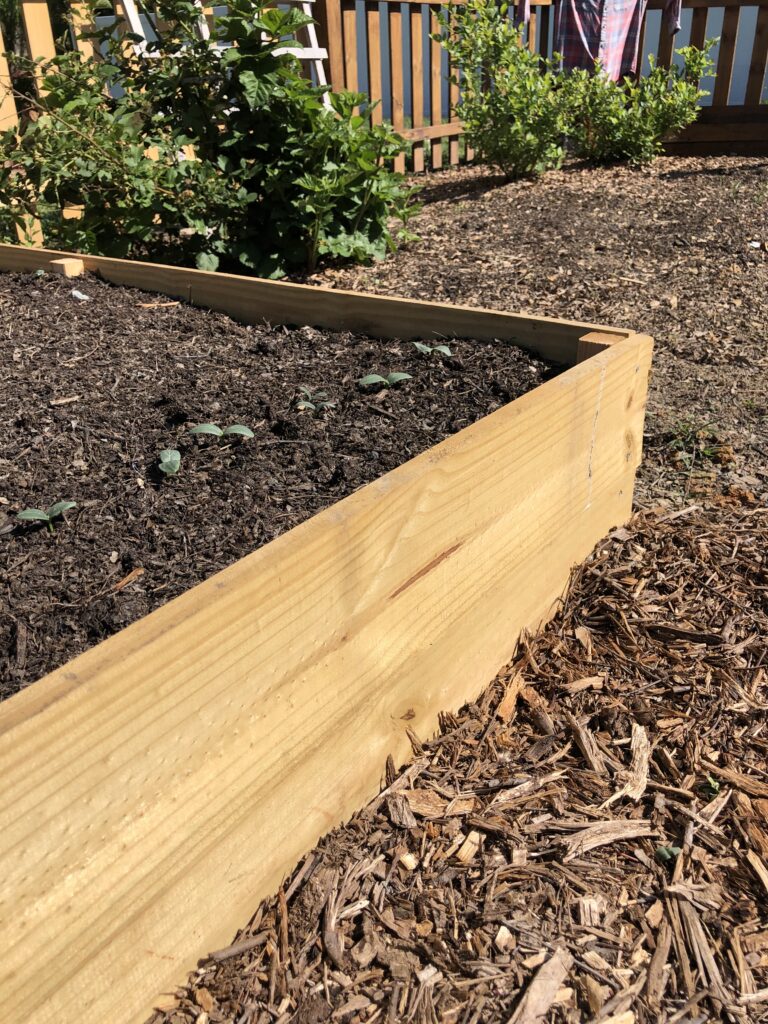
You will first want to consider where your garden beds will be located. A relatively flat location is ideal. You will also want to be sure that the amount of sun is appropriate for what you will be planting in it.
After determining your location, you will want to decide on how many raised garden beds you want to build. The plans that we have created here are for a 6 ft. by 3 ft. raised garden bed. Consider how much you will want to plant, and how spaced apart your plants have to be.
One recommendation regarding the size of your garden bed, is that you will not want to build it any larger than 4 ft. wide. It is difficult reaching into the garden to weed or harvest when the bed is any wider than 4 ft.
Once you have mapped out the location and amount of raised garden beds you will be building, you will need to make a supply list. Thankfully, I have done that for you!
Supplies Needed To Build A Cheap Raised Garden Bed In 2021
You might be asking, “how is it possible to build anything cheap with the sky high lumber prices in 2021?” Well, we cut a few corners and attempted to be resourceful. We bought and used FENCE PICKETS to build our garden beds!
Yes, I too was skeptical when first tossing this idea around. But, after shopping around and seeing many options, I realized that not all fence pickets are created equal. There are plenty of strong and sturdy options that cost so little compared to the traditional boards used. So, hang with me. Keep reading and I will show you how to build cheap raised garden beds in 2021.
Wood Options
Fence pickets come in a variety of wood options, such as pressure treated, untreated pine, cedar, and redwood. Since you want these raised beds to stand the test of time, a pressure treated or cedar/redwood option will work best.
Pressure treated wood is less expensive than cedar or redwood, but that’s your choice on whether you want the chemically-treated wood in direct contact with the soil you are growing your food in. There are many studies out there that indicate there is no harm in using pressure treated wood, but that is your decision to make and a personal preference. No judgement!
Cedar is typically less expensive and easier to find than redwood. Both woods are good options for naturally standing the test of time without chemical treatment. Obviously, both of these woods are more expensive than the pressure treated option.
When purchasing your fence pickets, you will need to examine the boards to make sure they are as straight as possible. Perfection is probably not attainable here, but you will want to get as close as possible.
Other Materials Needed
In addition to the fence pickets, you will need to purchase an 8 ft. section of 2 x 2 lumber to help secure the corners and sides of the raised garden bed.
And last, but not least, you will need 1-5/8 in. (or close to it) wood screws!
Supply List To Build A 6’ x 3’ Raised Garden Bed
- 6 – 6 ft. Fence Picket (5/8” x 5 1/2” x 6’) $14.22 for 6 pickets
- 1 – 8 ft. 2 x 2 Pressure Treated Lumber (2” x 2” x 8’) $4.98
- 1-5/8” Wood Screws $5.96 for 1 lb.
- Cordless Drill
- Tape Measure
- Circular Saw
Total cost for lumber and screws = $25.16
Step By Step Guide On How To Build Cheap Raised Garden Beds In 2021
This is a guide for building a 6’ x 3’ raised garden bed.
Step 1:
Set up your work station with the circular saw, cordless drill, wood screws, tape measure, pencil, and wood material.
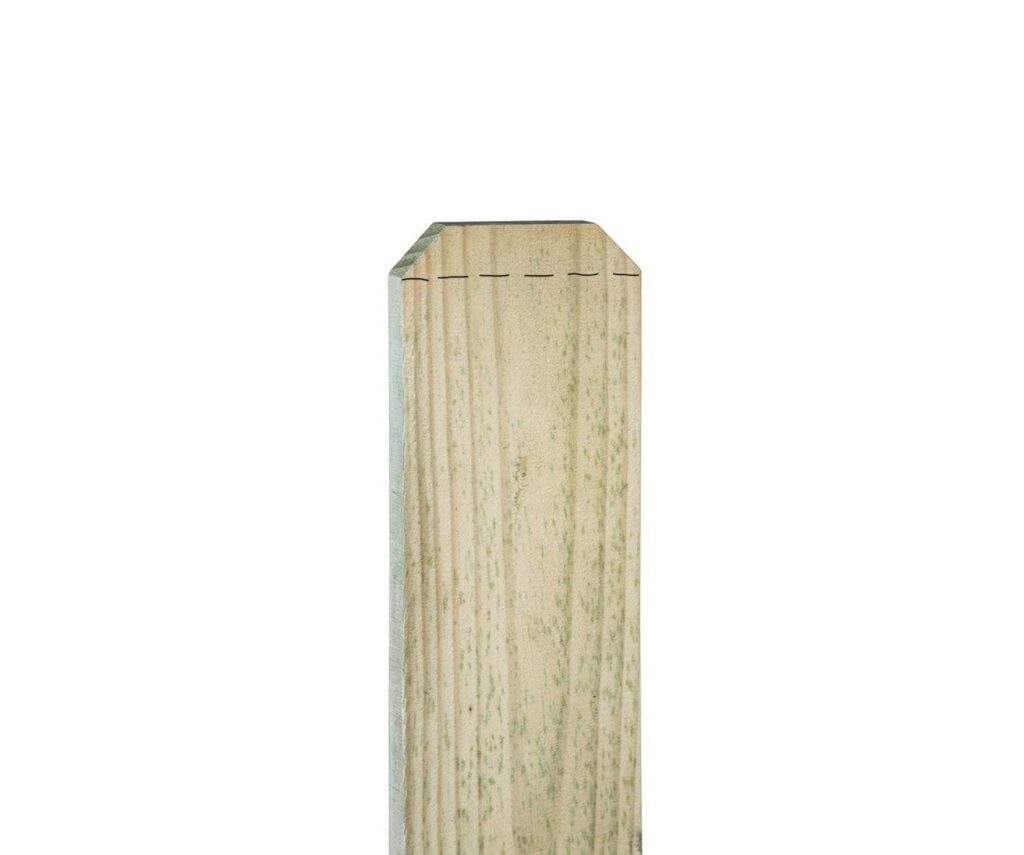
Take your first fence picket and measure the length to where the ”dog ear” starts. Mark the measurement with a pencil.
Take your circular saw and cut on that mark to remove the “dog ear.” Now you will have what looks like a regular, rectangular board with perpendicular sides.
Repeat with remaining 5 boards, ensuring that all boards are cut to the same length.
Step 2:
Take 2 of the boards, and measure out the middle of each board. Mark the measurement with a pencil.
Take your circular saw, and cut both boards in half at the mark.
Step 3:
Use your tape measure to record the width of the fence pickets. They should be approximately 5.5 inches wide. You will double that number when measuring out and marking the length on your 2 x 2 piece of wood. This will create a total of 6 braces that your fence pickets will attach to.
Now take your 2 x 2 piece of wood and measure out that number you recorded (double the width of the fence picket – approx. 11 inches) and mark with a pencil along the 2 x 2 until you have 6 total pieces to cut.
Cut these marked pieces with your circular saw.
Step 4:
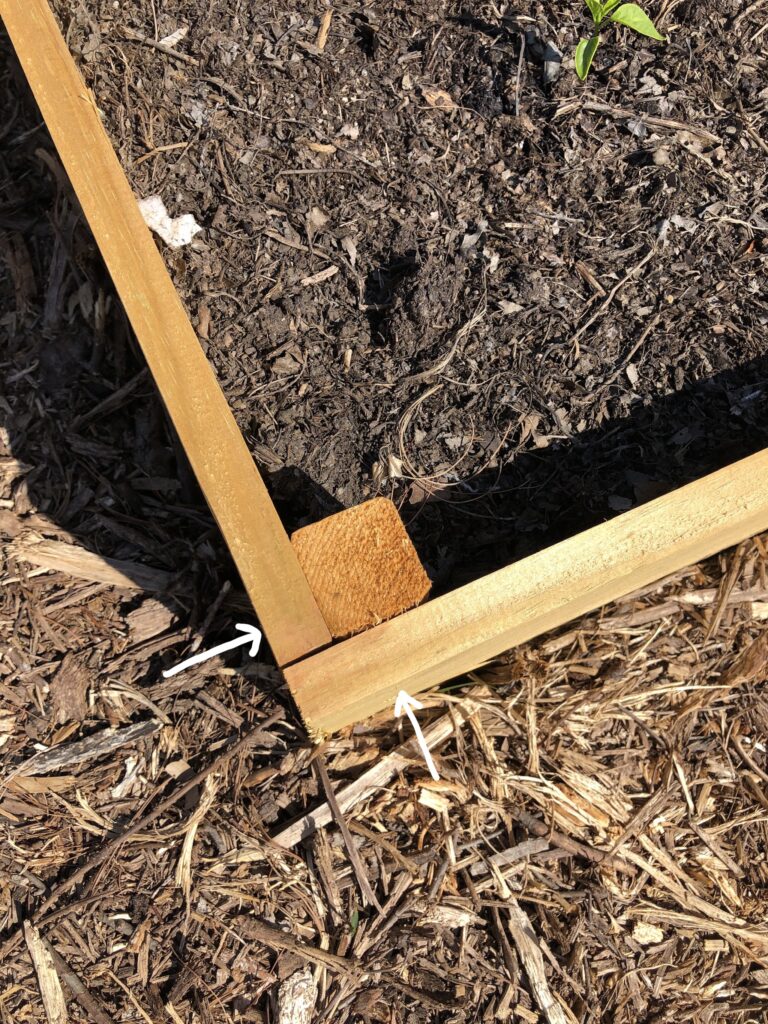
On a level surface (like a paved driveway), attach the fence pickets to the 2 x 2 braces, as shown in the picture below.
Attach the pickets on the lower level first, then attach the second level of pickets, ensuring that everything is lined up evenly.
How To Set Up Your Raised Bed Once Finished Building
Once you are finished assembling the raised bed, you will want to move it to it’s permanent location. The benefit of these beds, are that they are very light to pick up and maneuver. Make sure it is in the correct location, because after filling it with soil, it will be very difficult to relocate.
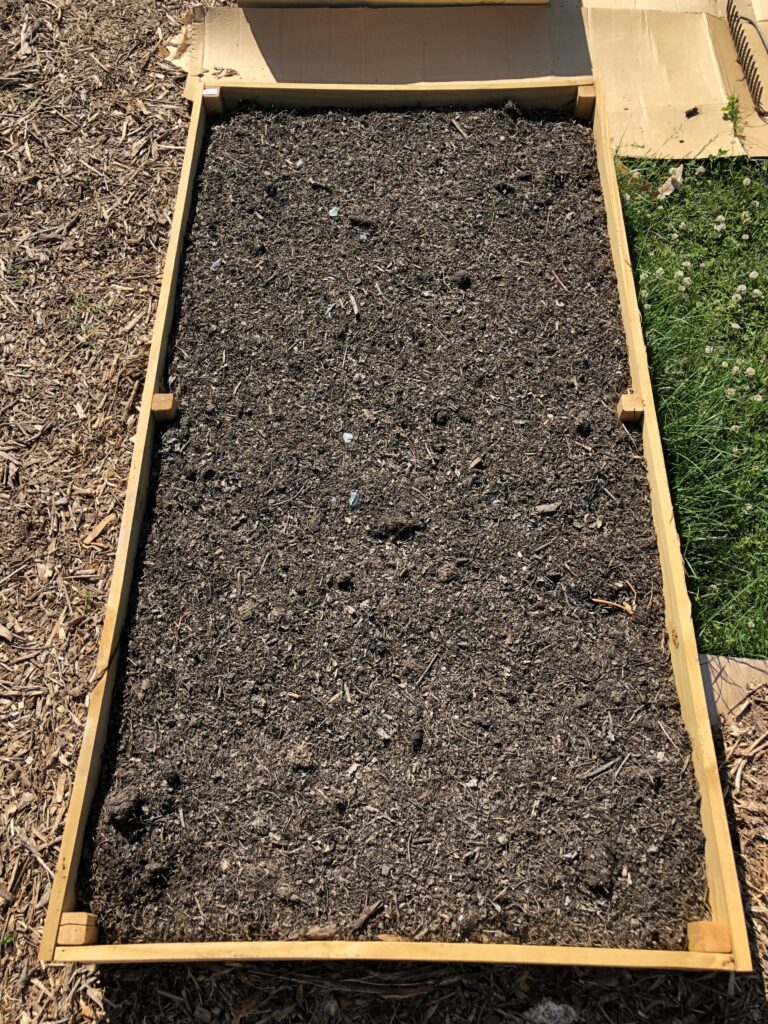
If you are placing your raised bed on any area that has grass or weeds, you will want to lay down some sort of weed barrier. You can choose to lay down a fabric barrier that you purchase at the store. We, however, used cardboard from our no-till method we’ve been working on in the other garden beds.
You will want to find some fill to put in the bottom half of your raised garden bed. This keeps the costs down, as purchasing premium soil to fill an entire garden bed can get hefty.
Examples of fill include chopped up logs, twigs, branches, leaf mulch, and compost. You do not want to add fill that contains too many weeds, as this can defeat the purpose of a raised bed keeping weeds under control. We used fill from a local farm friend that was free.
The top half of your raised bed should be a premium soil that makes an excellent choice for growing your plants in. We also got some quality leaf mulch/soil from our local compost center, and it too was FREE!
Once you are done building and filling your raised garden beds, the only thing left to do is plant!
Pin For Later
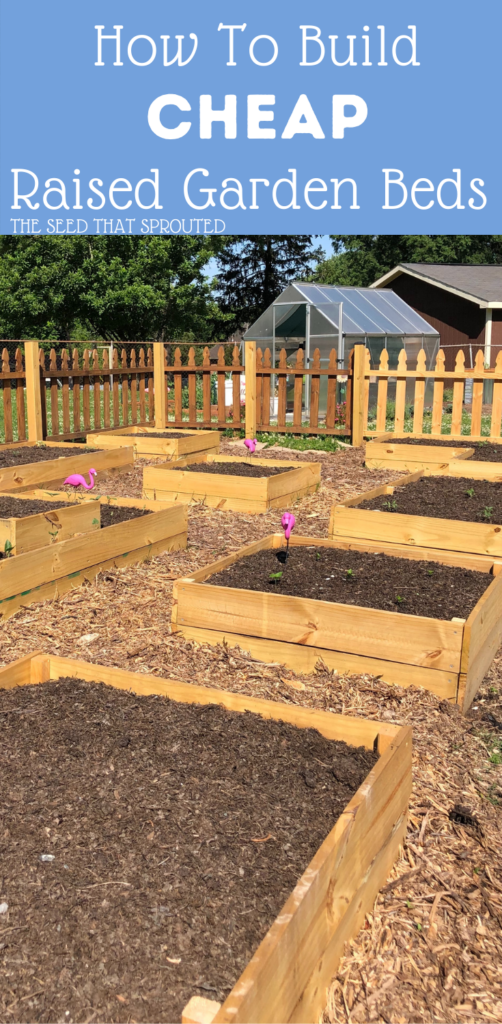
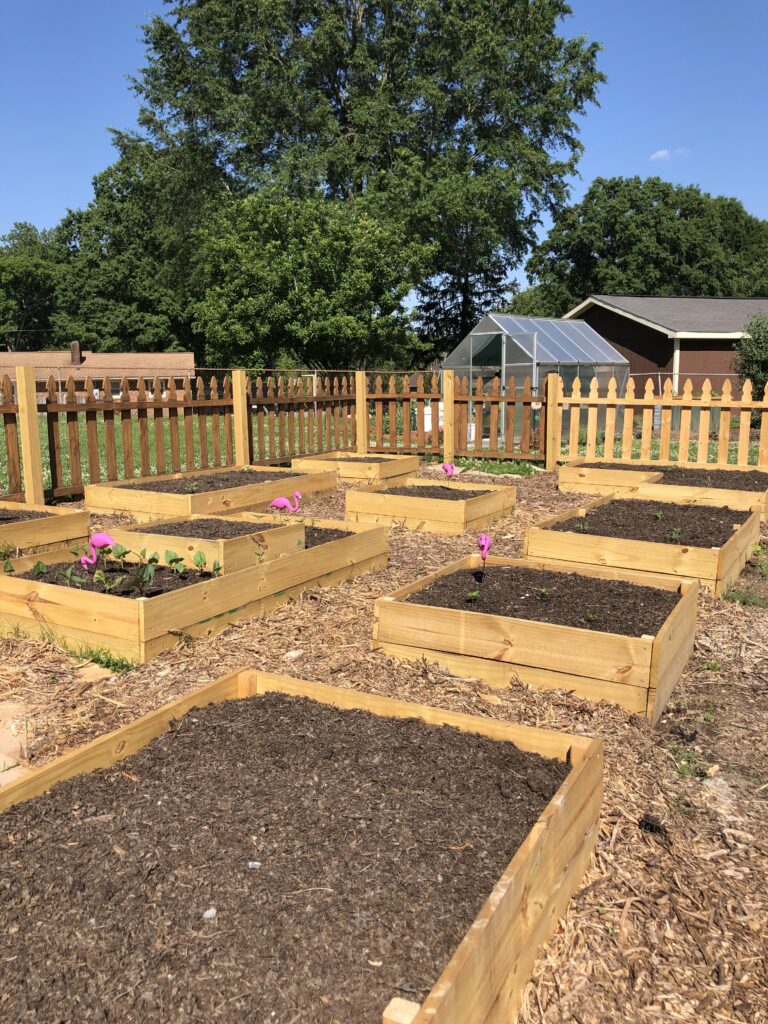
Well, there you have it friends! You now know my secret on how to build cheap raised garden beds in 2021. We built about 13 of these this Spring to add to our big garden expansion. This has allowed us to free up the in-ground garden space for vining plants and fruit bushes.
Drop a comment below and tell me what you’re planting this year, and if you have or plan to build raised garden beds.
Thanks for stopping by, and I’ll see y’all later! Happy gardening!
Leave a Reply