With only 2 ingredients, you can create a bubbly, fermented, gut-healthy treat that can be used in countless recipes. Read on to learn how to create a homemade sourdough starter from scratch.
Why Should You Create A Homemade Sourdough Starter?
Trying to ensure that your family eats a healthy diet can be very difficult. I really think my toddlers believe they are allergic to anything green. I try to sneak the healthy stuff in, but they have radar and can pick it out, no matter how small and blended it is.
Since our immune health starts in the gut, it’s important that we focus on consuming foods that support it’s health. Fermented and cultured foods contain good bacteria that thrive in our gut, help promote proper digestion, and support our overall immune system. This is why my family takes a daily probiotic, in addition to incorporating gut-healthy foods in our diet. I have the kids convinced that the probiotic is “candy,” and they throw it down the hatch with no problem. Parenting win!
Since my family mainly eats a grain-free diet, we tend to stay away from bread and similar items. However, I had been reading recently about the benefits of sourdough, and my food nerd self became very intrigued.
Heath Benefits of Sourdough
Sourdough starter is a fermented combination of flour and water. The fermentation process happens when you allow the flour and water combo to sit out uncovered at room temperature, to collect the naturally occurring yeast in the air. This can sound either gross or super cool, depending on how you view the science behind it all. Again, food nerd over here thinks it’s NEAT-O!
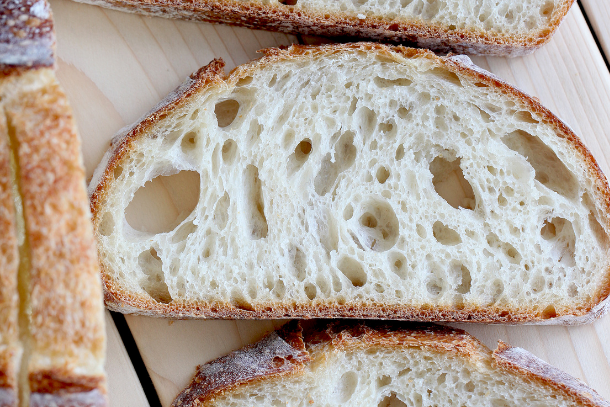
This process yields many different benefits for the end product that the starter can provide, such as a lower glycemic index and prebiotics for gut health. The biggest difference between sourdough and traditional breads, is that traditional breads contain phytates (or phytic acid). Phytic acid binds to essential nutrients in bread, like magnesium, calcium, and iron, inhibiting our absorption of them.
Because sourdough contains lactic acid from the fermentation process, the levels of phytic acid are less due to the lactic acid neutralizing the phytic acid. As a result, the sourdough contains a higher level of minerals that are able to be absorbed.
Is Sourdough Gluten – Free?
Short answer: no. Sourdough still contains the gliadin protein from wheat that affects people with gluten allergies. However, some people that have mild intolerances or sensitivities to gluten, find that they can digest sourdough with little or no problems. This is because the fermentation process breaks down some of the gluten.
How To Create A Homemade Sourdough Starter
About a month ago, I decided to try my hand at making my very first sourdough starter. I eat a grain-free diet, and after reading that sourdough is more easily digested, I had to give it a shot. Also, my inner food nerd had to try something new. So, here is my first-hand experience at creating a starter from scratch, and I was surprised as to how easy it was!
Gather your supplies:
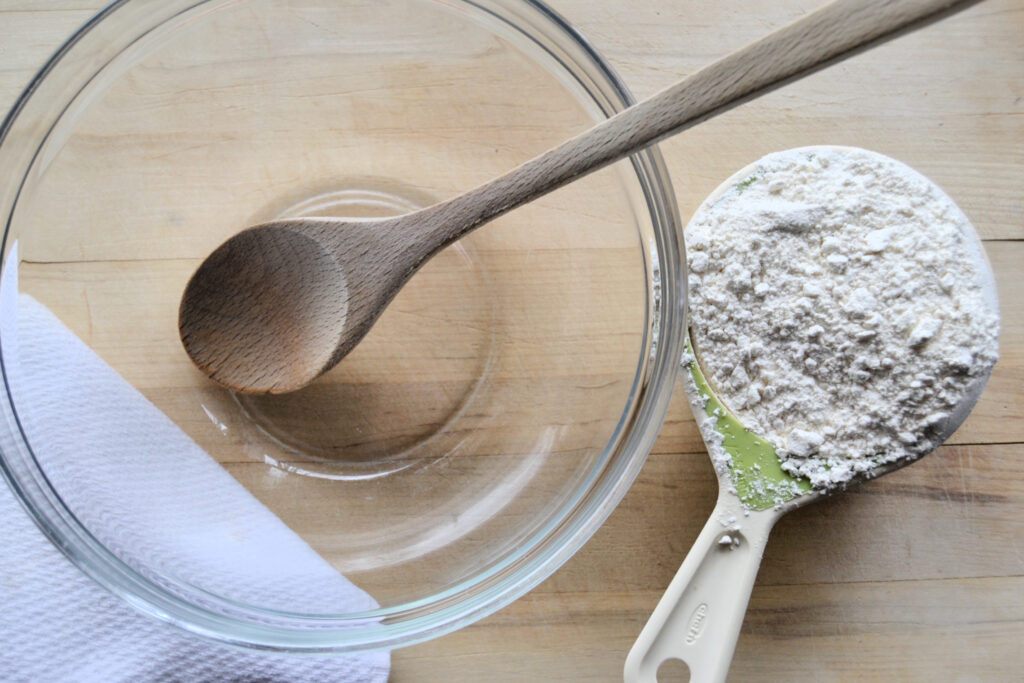
- Glass vessel or bowl
- Wooden spoon
- Unbleached, organic flour (any wheat variety will do, such as all-purpose, bread flour, wheat, spelt, or einkorn)
- Filtered water (room temperature)
- Tea towel
We use a combination of bread flour and whole wheat flour in our sourdough starter. I like the higher protein content in the bread flour, versus the all-purpose flour, and the whole wheat flour rises really well. We choose to use an organic brand because we don’t want any junky stuff in our starter and risk an interference with the yeast and bacteria environment.
The same concept goes for the water source used. You will want to use a filtered water source so that the chlorine in regular tap water doesn’t interfere with the growth of the starter. Room temperature water also allows the bacteria and yeast to quickly access their food (the flour) and cause the starter to rise. In a time crunch, we will microwave a cup of water for 15-20 seconds. Nothing to scorching!
Now, on make your new baby!
Day 1: Mix 1 cup of flour and 1 cup of filtered water in a glass bowl with wooden spoon until well blended. Cover with a towel and place in a draft-free, warm (~68 degrees, just not too much cooler) environment (the oven with the light on is a great spot if your house is on the chilly side).
Day 2: Remove half of the mixture and add 1 cup of flour and 1 cup of filtered water. Mix well, cover with towel, and place back in warm, draft-free area.
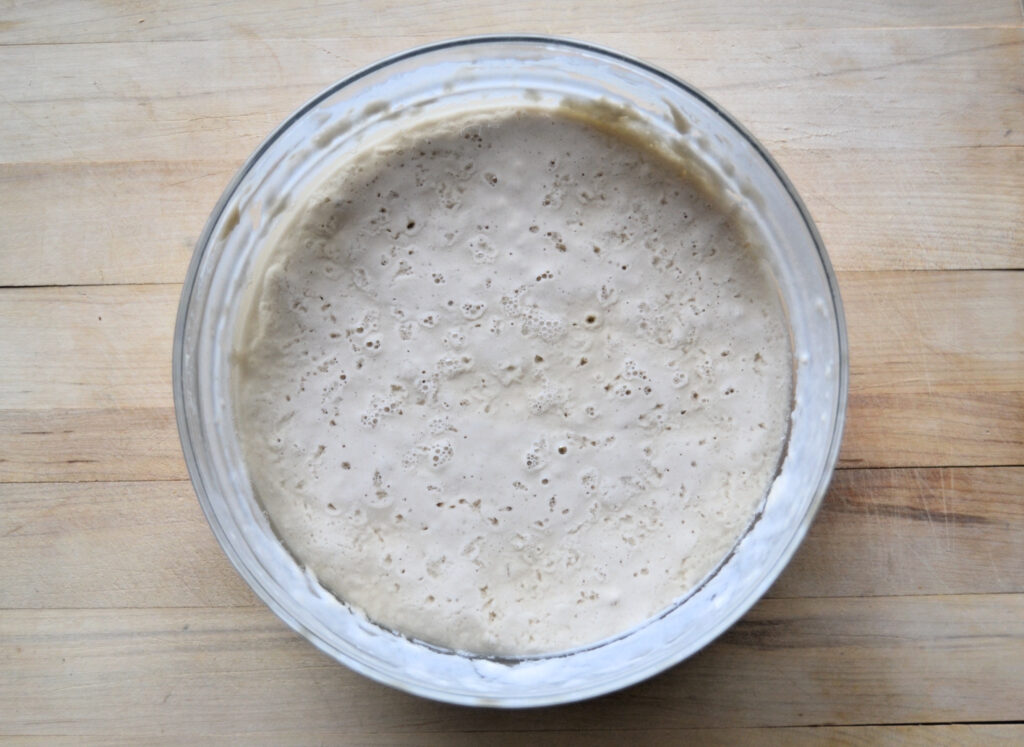
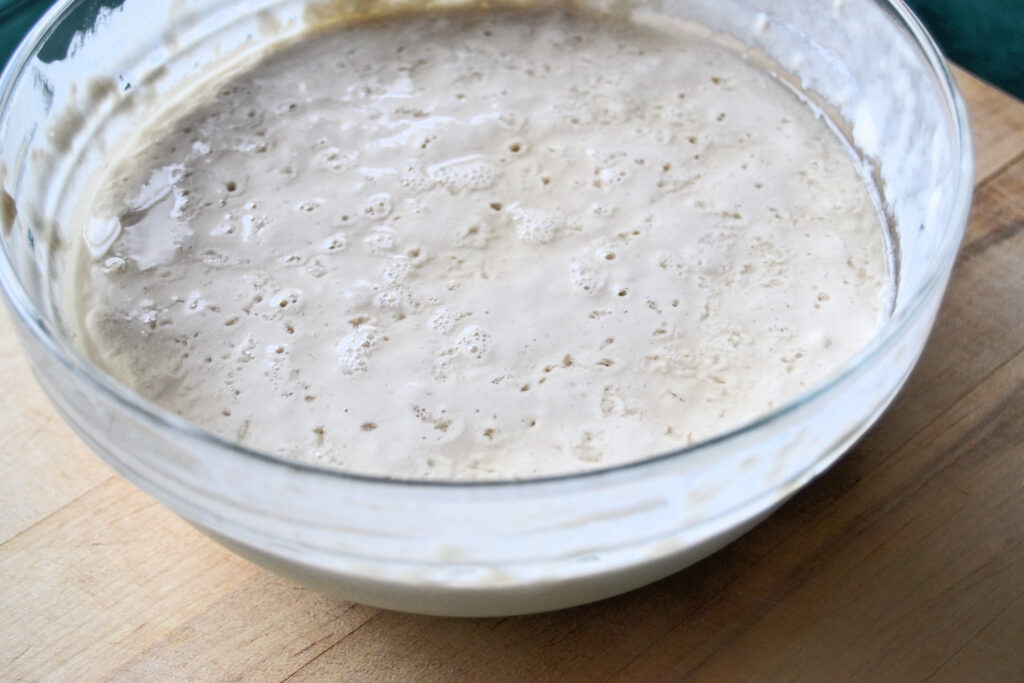
Days 3-5: Repeat instructions from Day 2. Remember, you are only “feeding” your starter once a day at this point. By day 3-4, you should start to smell the yeast smell and/or see bubbles. Note that you will want to maintain a slightly thicker starter, so be sure to add enough flour, or ease up on the water addition.
Day 6: You will feed your starter twice today. Approximately every 12 hours. The same rule applies when feeding. Remove half of the mixture, add 1 cup of flour and 1 cup of filtered water. You are feeding twice a day now because there should be enough active yeast in your starter to be really hungry.
Day 7: Repeat instructions from Day 6 (feed twice). After you have fed your starter, you can choose to either leave it out for daily use or refrigerate it for occasional use. More about that below.
How To Care For Your Sourdough Starter For DAILY use
If you plan on using your starter on a daily basis, you’ll want to leave it out on the counter, loosely covered, and feed it daily (sometimes twice a day). To feed your starter, first remove a portion of it first. This is called your discard, and it’s typically about half of what you started with. Then, measure how much starter you have left. For sake of ease, we will use an example of 1 cup of starter remaining. You will then add 1 cup of filtered water, and just about twice that amount in flour. So, in this case, you will add 2 scant cups of flour. The mixture will be sticky and on the thicker side, however, it should not resemble a ball of dough. Once your starter starts eating, it will rise and bubble. You can then use it at it’s peak rise for baking with.
How To Care For Your Sourdough Starter For OCCASIONAL use
If you are like me, and use your starter on a more occasional basis, you’ll want to keep it loosely covered in the refrigerator. I use mine weekly (maybe twice a week) for sourdough pancakes and the occasional bread. I will take the starter out of the refrigerator, and let it come to room temperature. Next, remove about half of it as your discard. Afterwards, feed the starter the same way you did in the previous “daily use” section. Add an equal amount of filtered water as there is starter. Then add double the amount of flour as there is starter. Again, the mixture will be sticky and thick, but not resemble a ball of dough. Once it is at it’s peak rise, you can then use it in a recipe.
After you have used your starter for a recipe, you have a few options as to what you can do next. You can feed it again and then put it immediately back in the fridge. You can feed it again and let it sit out and rise before placing it back. Or, you can simply not feed it and put it back in the fridge. You can’t go wrong either way, but do know that if you choose not to feed it before putting it away, you may have a hangry girl before too long.
Sourdough Starter Troubleshooting
Now, here comes the hard part. People usually have so many questions regarding their starter’s smell, appearance, and taste. But, it’s so hard to answer these questions when you’re not standing in front of the starter itself. I will say that a great website to reference troubleshooting is found here. Otherwise, your starter should possess a few qualities that allow you to know it is alive and well. There are a few qualities that will also tell you that it has turned and is contaminated.
Qualities of a healthy sourdough starter:
- It bubbles shortly after being fed
- Smell is mild, but slightly sour (like yeast or a bakery)
- Before feeding, there may be a yellow/brown colored liquid floating on top. That is called the “hooch” and just means that it’s hungry. FEED HER!
- It will expand in size after feeding (doubles in size in less than 6 hours)
Qualities that indicate your starter is contaminated:
- There is a rancid smell to it (but do double check before tossing it – some just smell differently based on your native yeast cultures). The hooch that sits on top can have an alcohol smell to it as well. Just stir it up.
- There appears to be black mold on top. You may be able to scrape it off and try to revive it, but if the mold has reached the body of the starter, it’s best to start over.
If you forget to feed your starter, or use a low quality flour or water, your starter can suffer. But, fear not! Those little organisms are quite robust and can usually be revived by tossing out all but a small amount of the starter, and feeding a good quality flour and water combo to refresh it.
Long Term Sourdough Starter Care
If you have the wonderful opportunity to care for a starter for a great length of time, you’ll understand that with time comes quality. The taste, smell, and ability to rise gets finer with time, and makes some of the most delicious foods. My starter is still young, so I’ve only used it for sourdough pancakes so far, but will hopefully be using it for bread very soon (of which I will be posting about).
If you would like the recipe for the sourdough pancakes I use, just toss your e-mail in the box below, and I’ll be sure to send it your way! I promise it will be gobbled up by your family, make for a great weekend tradition, and provide some excellent gut health.
Recent Posts:
How To Increase Egg Production In Winter
Leave a Reply